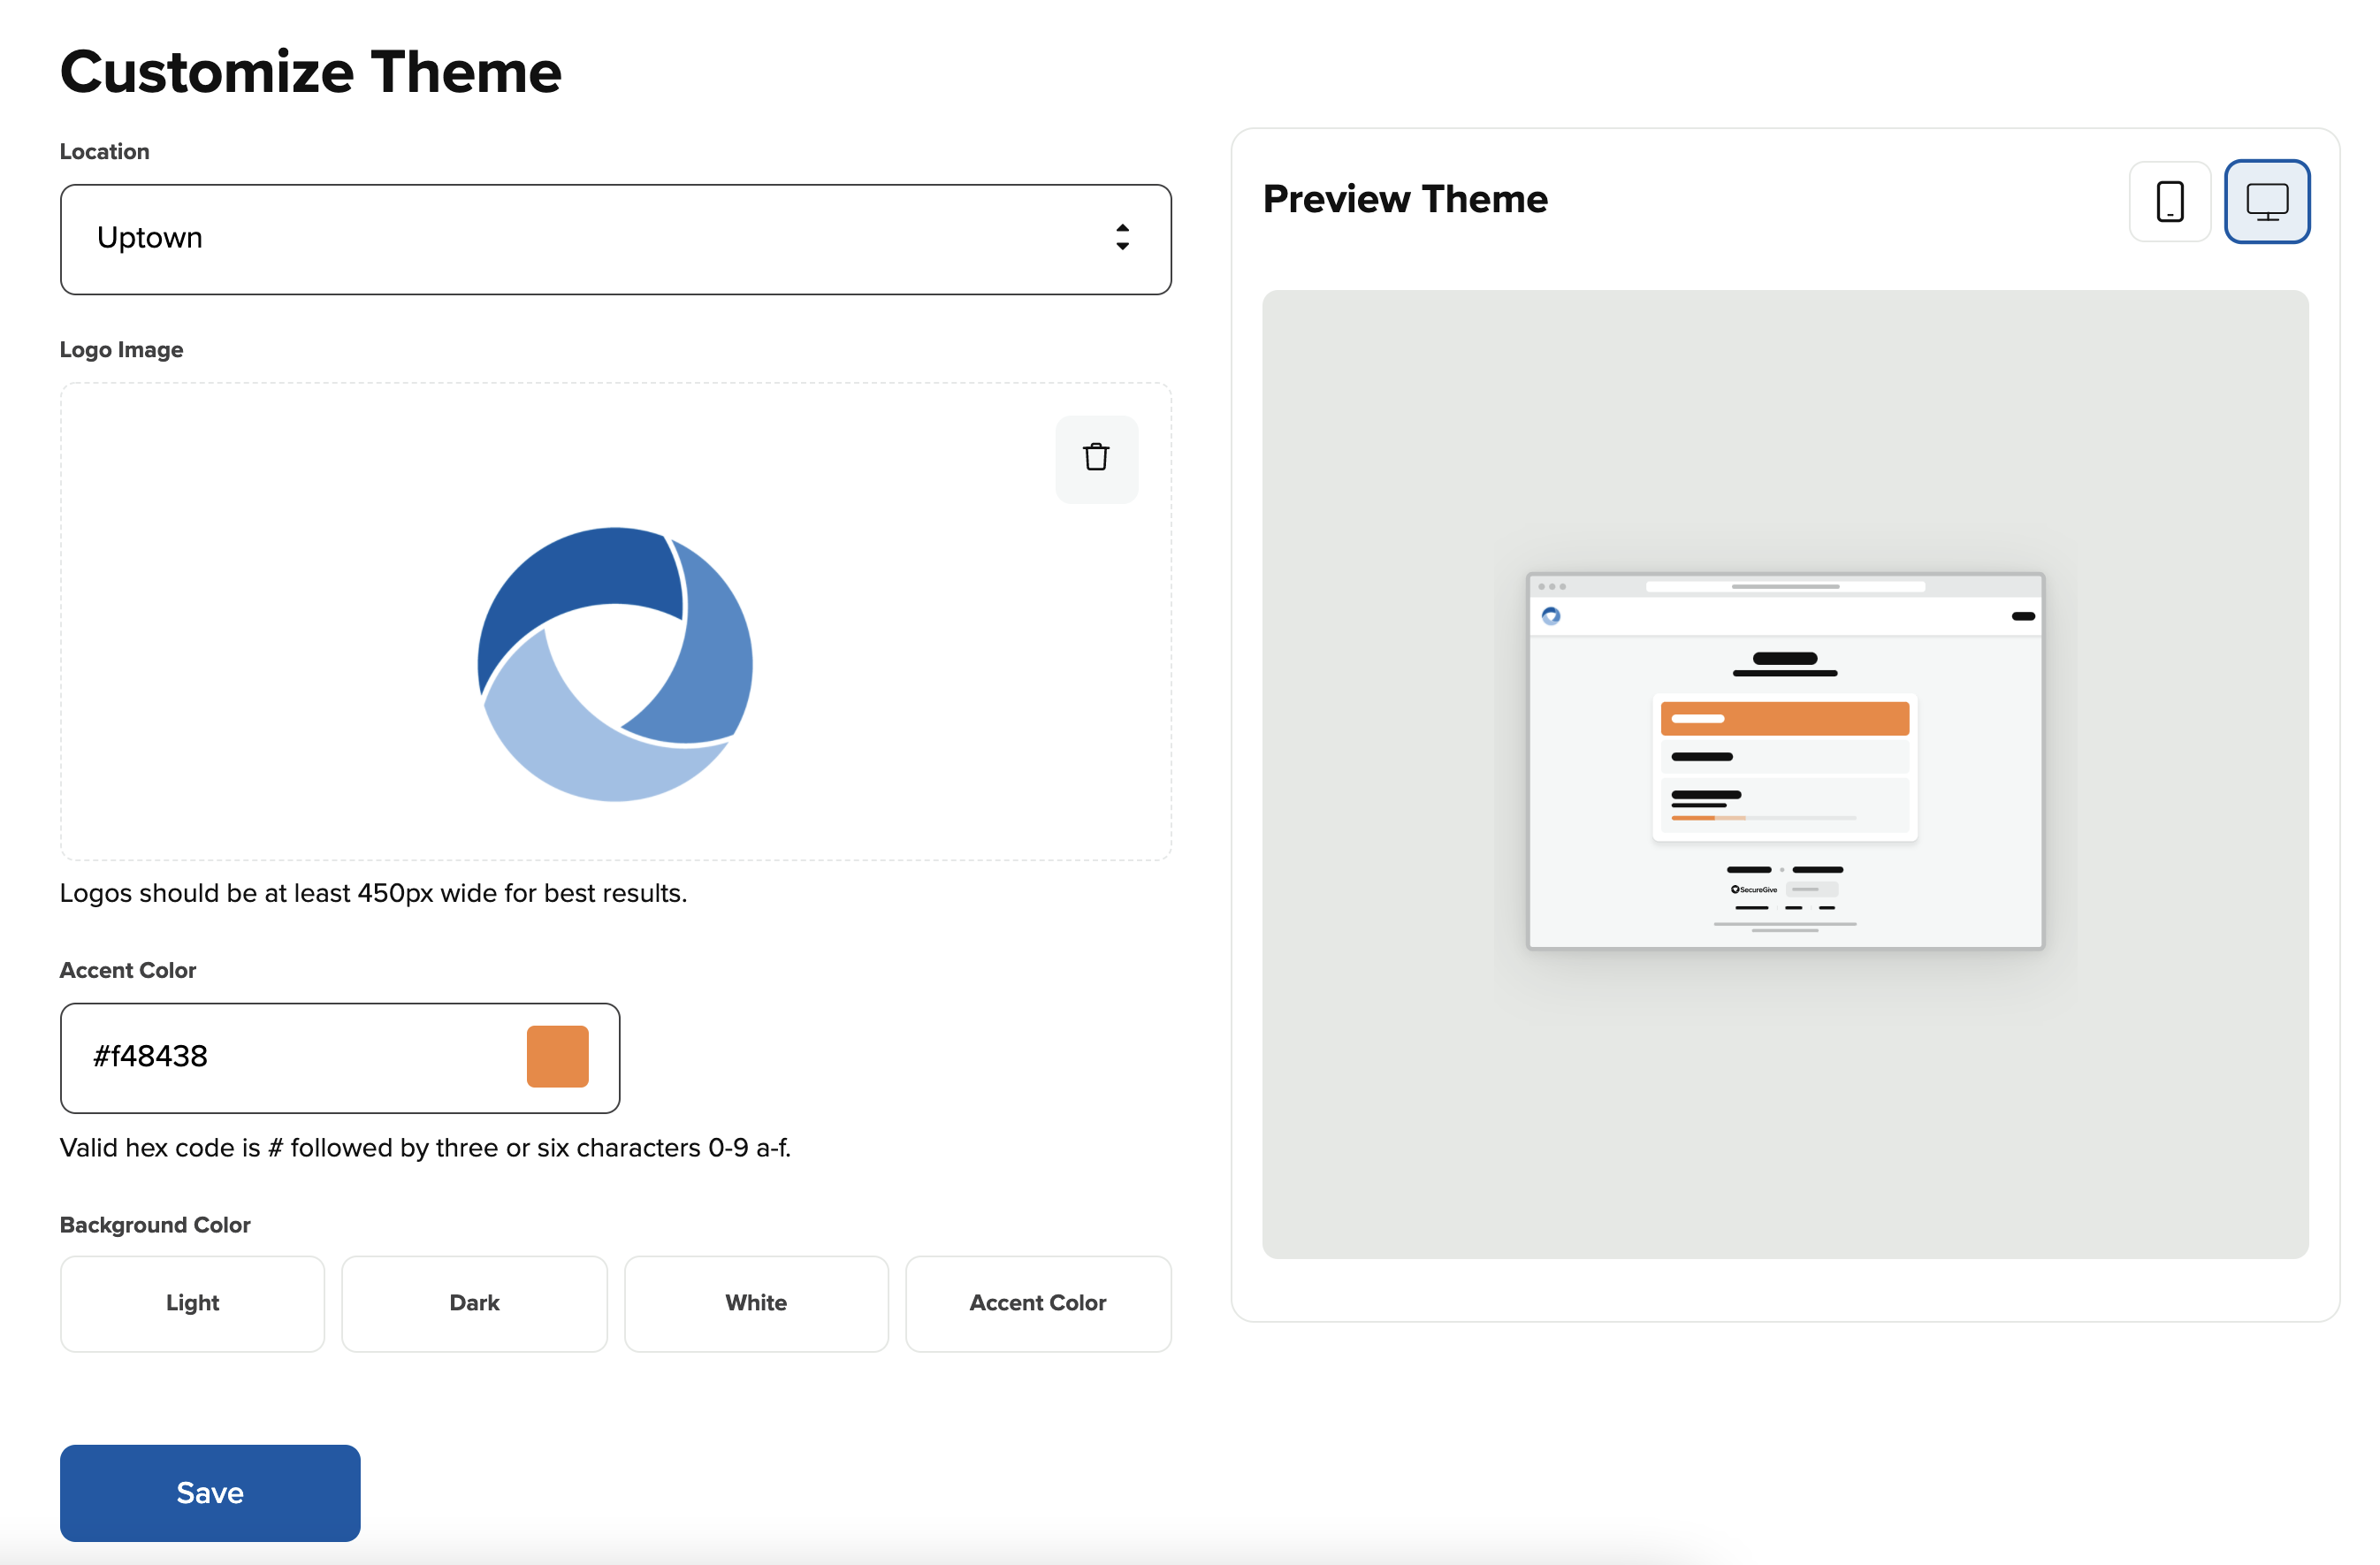
The Customize Theme page allows you to enter in a logo and colors to customize your SecureGive site.
1. Navigate to the Customize Theme page by going to Settings > Theme
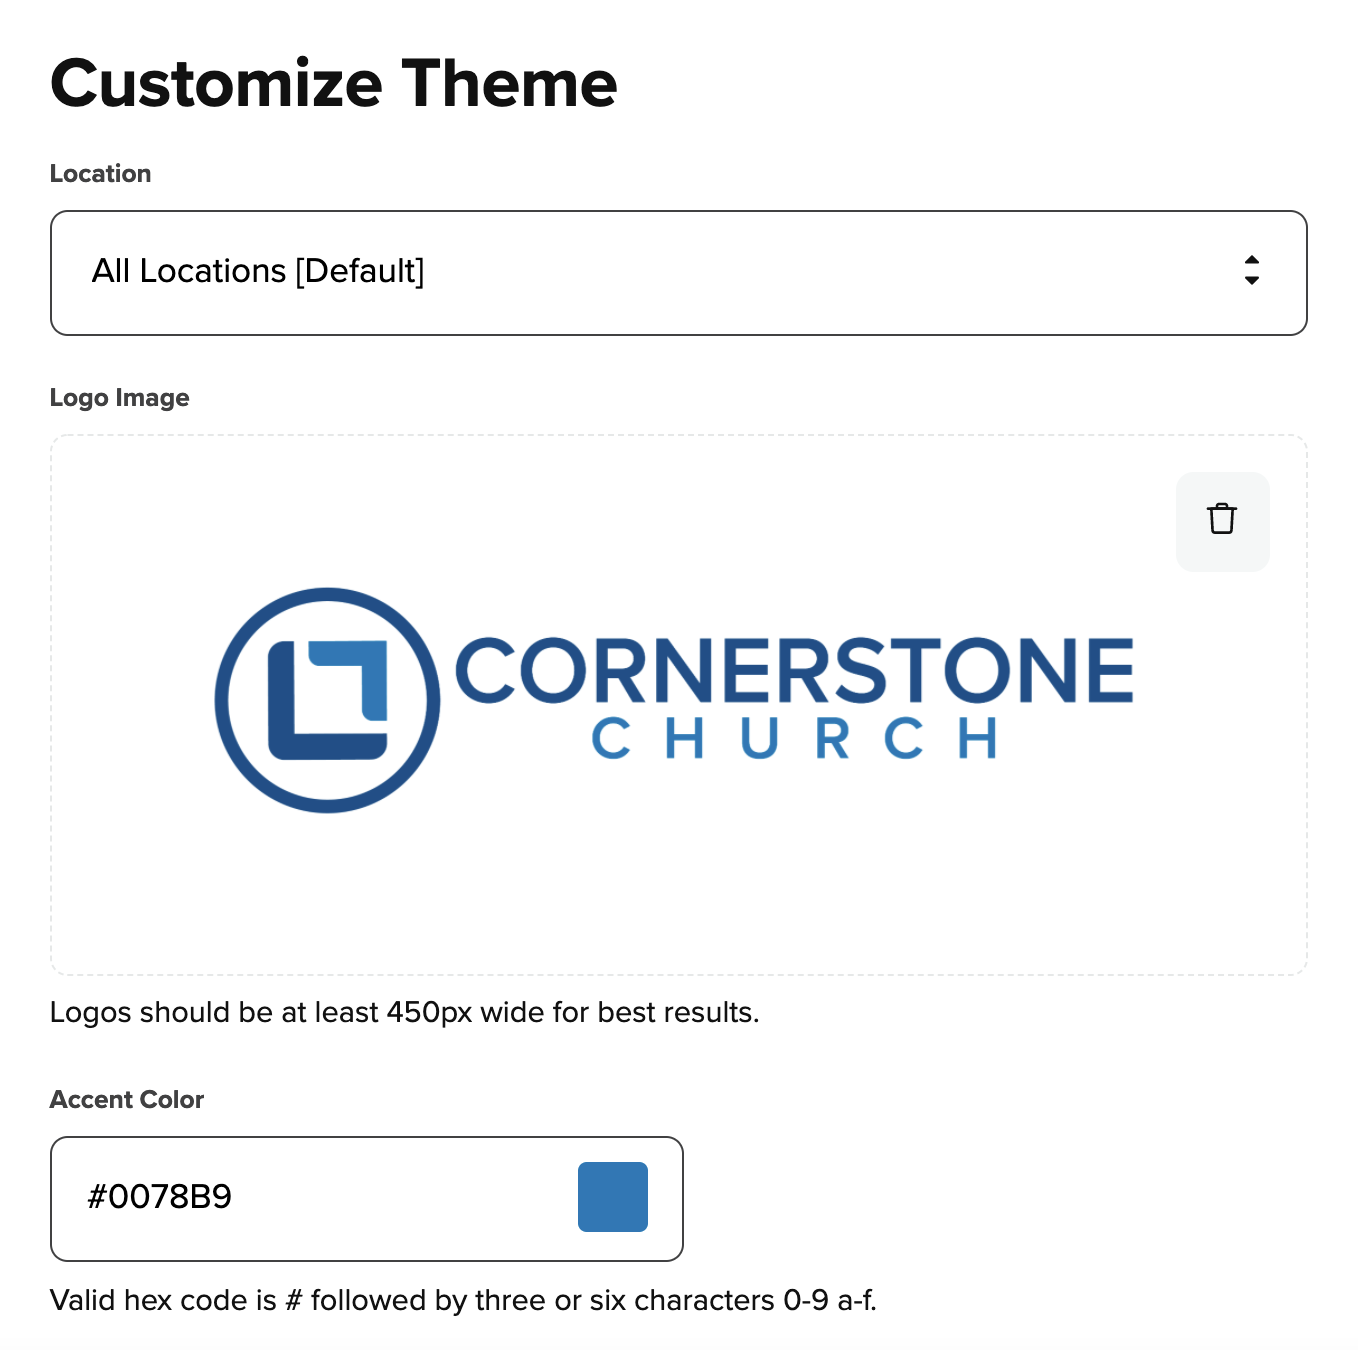
2. Upload your logo
a. If you have an old logo that you need to get rid of first, then click on the trash bin icon at the top right of the logo, and click Yes to confirm.
b. Select the Logo Image Upload box, and upload a PNG or JPG of your logo.
c. Select Save.
Note: Logos should be at least 300px wide but no more than 1000px wide. The logo area is responsive so will scale to best fit the users screen size. Typically, logos are displayed with a max height of 40px, and we recommend at least 2x logos for higher quality displays.
3. Change Accent color
a. Choose a color from the color picker or enter a HEX or RGB value.
b. Select Save.
4. Change Background Color
a. Choose Light, Dark, White, or Accent color
b. Select Save
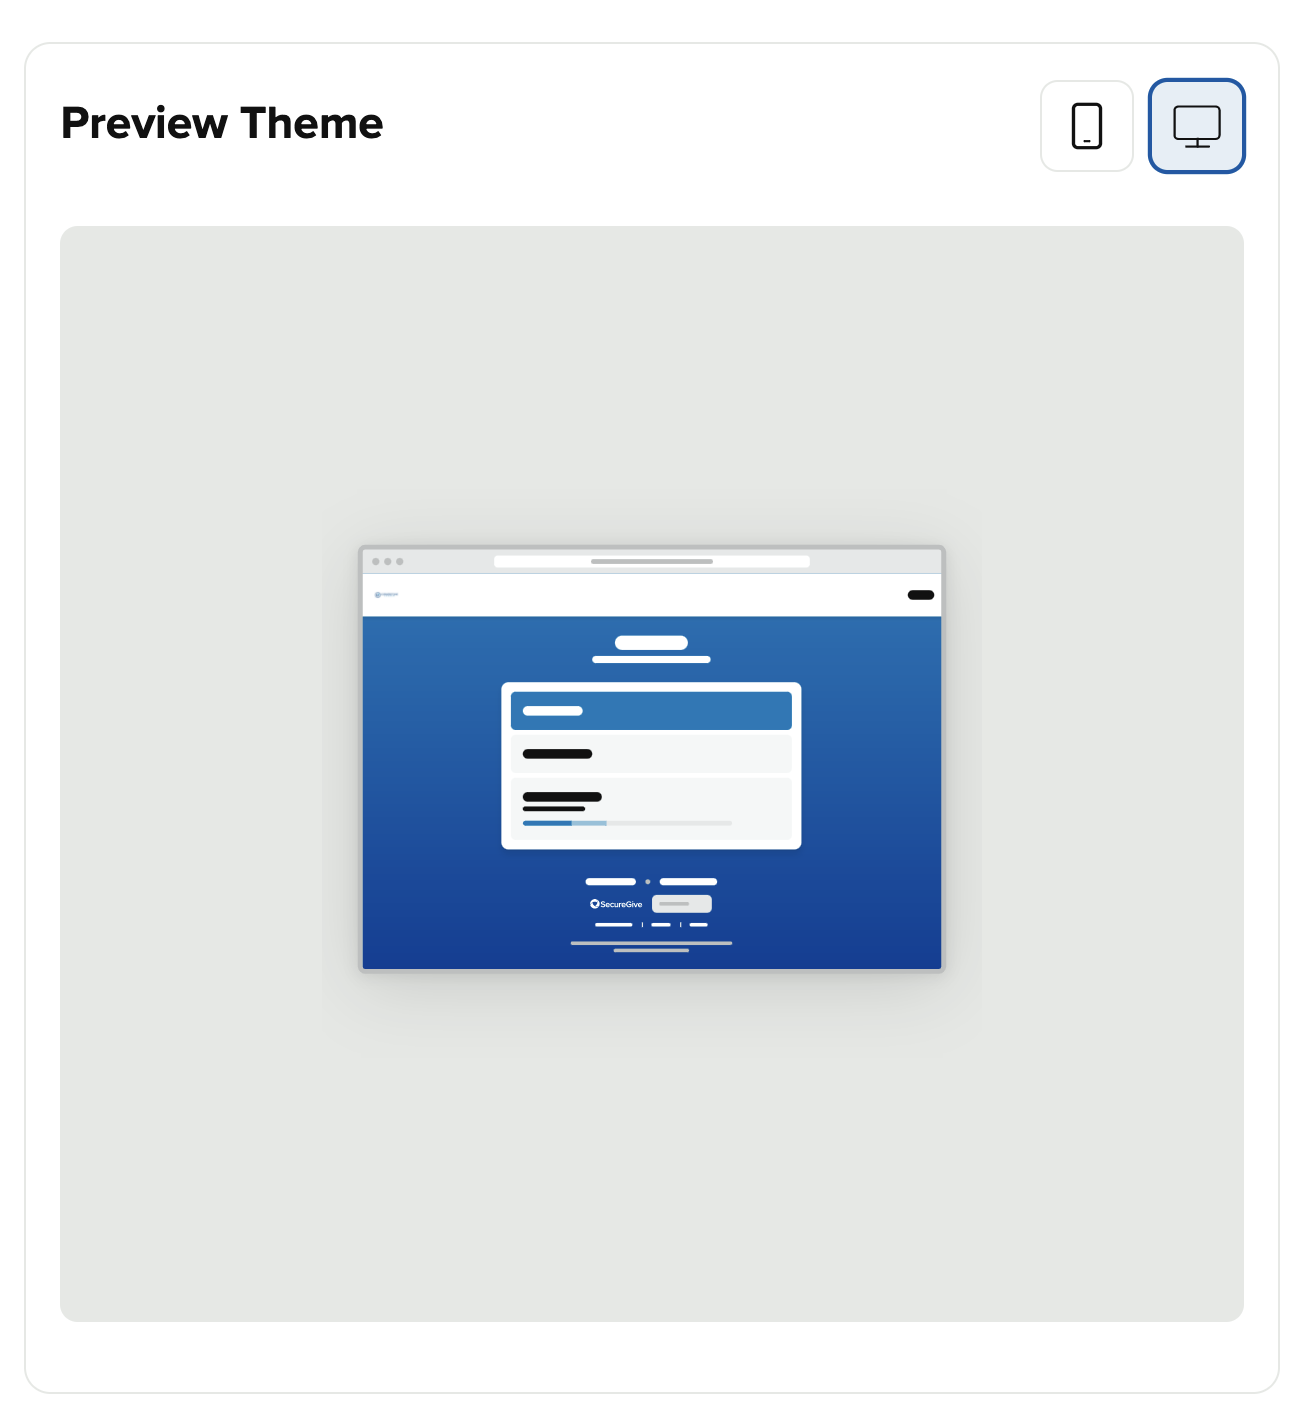
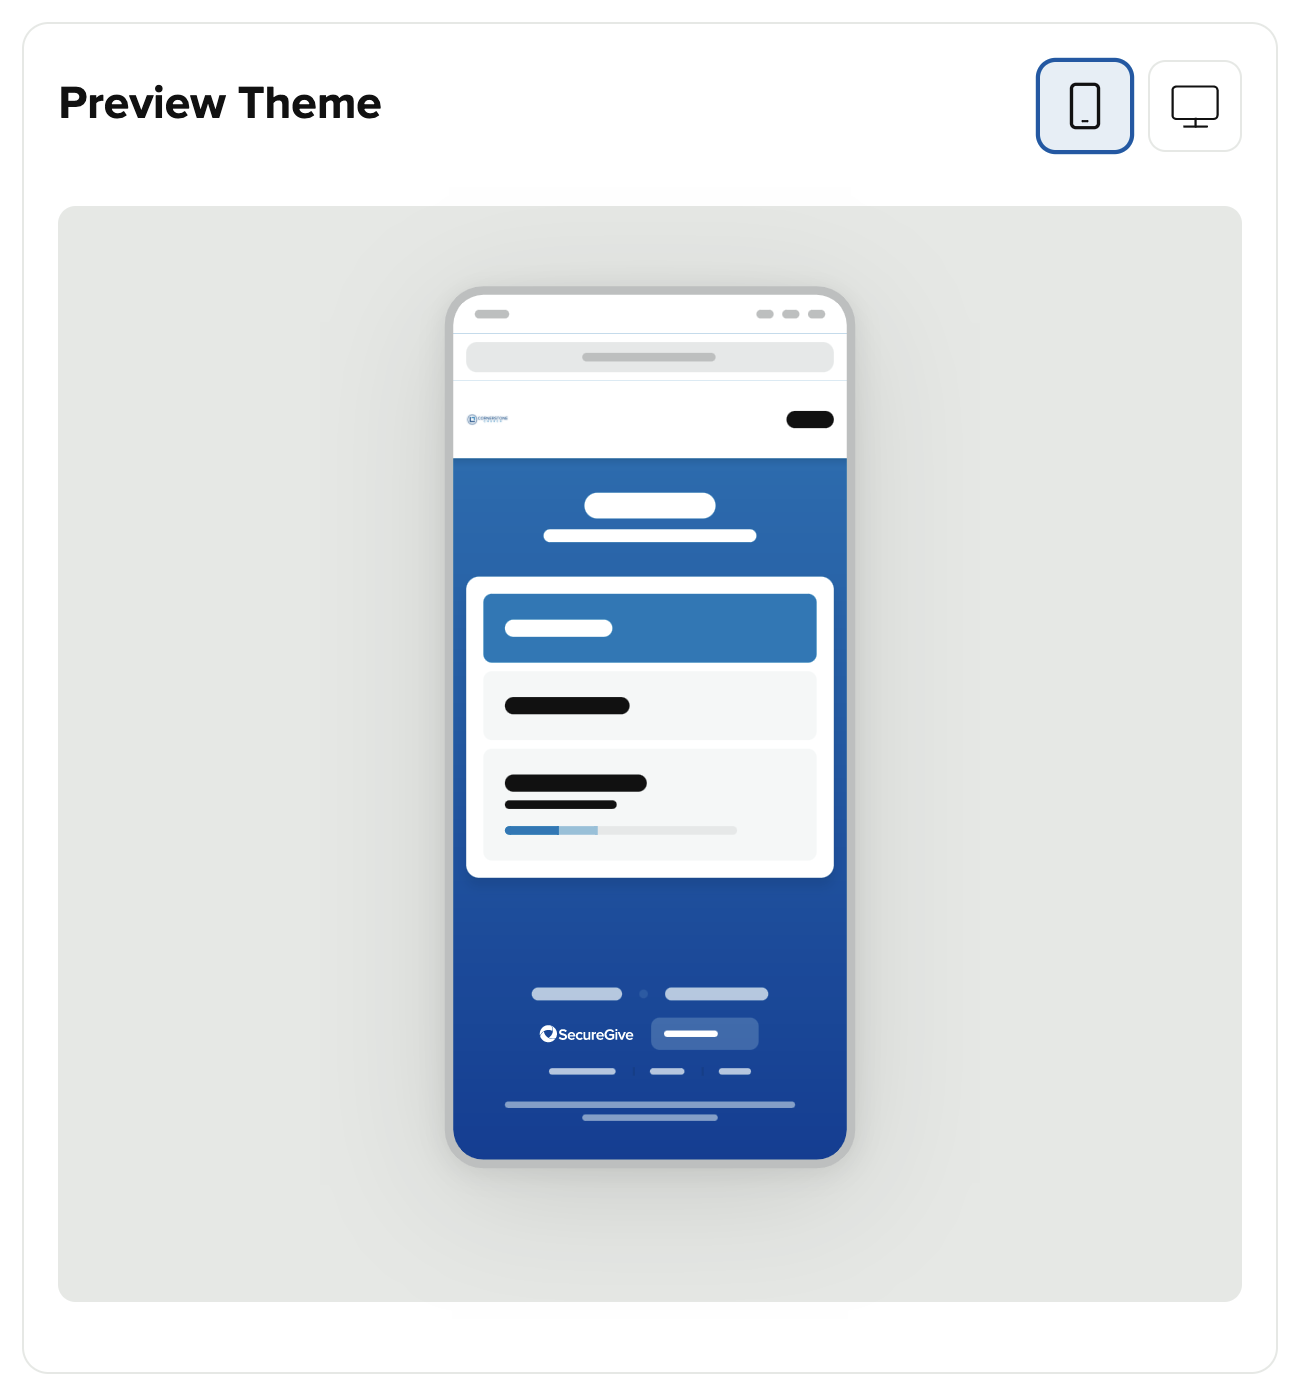
You can preview your color selections for the online and mobile view in the Preview Theme window on the right hand side.
5. Customize Campus Theme
If you have multiple campuses, you can choose a separate logo a colors for each one. If you do not change the logo and colors for a campus, it will use the main logo and colors by default.
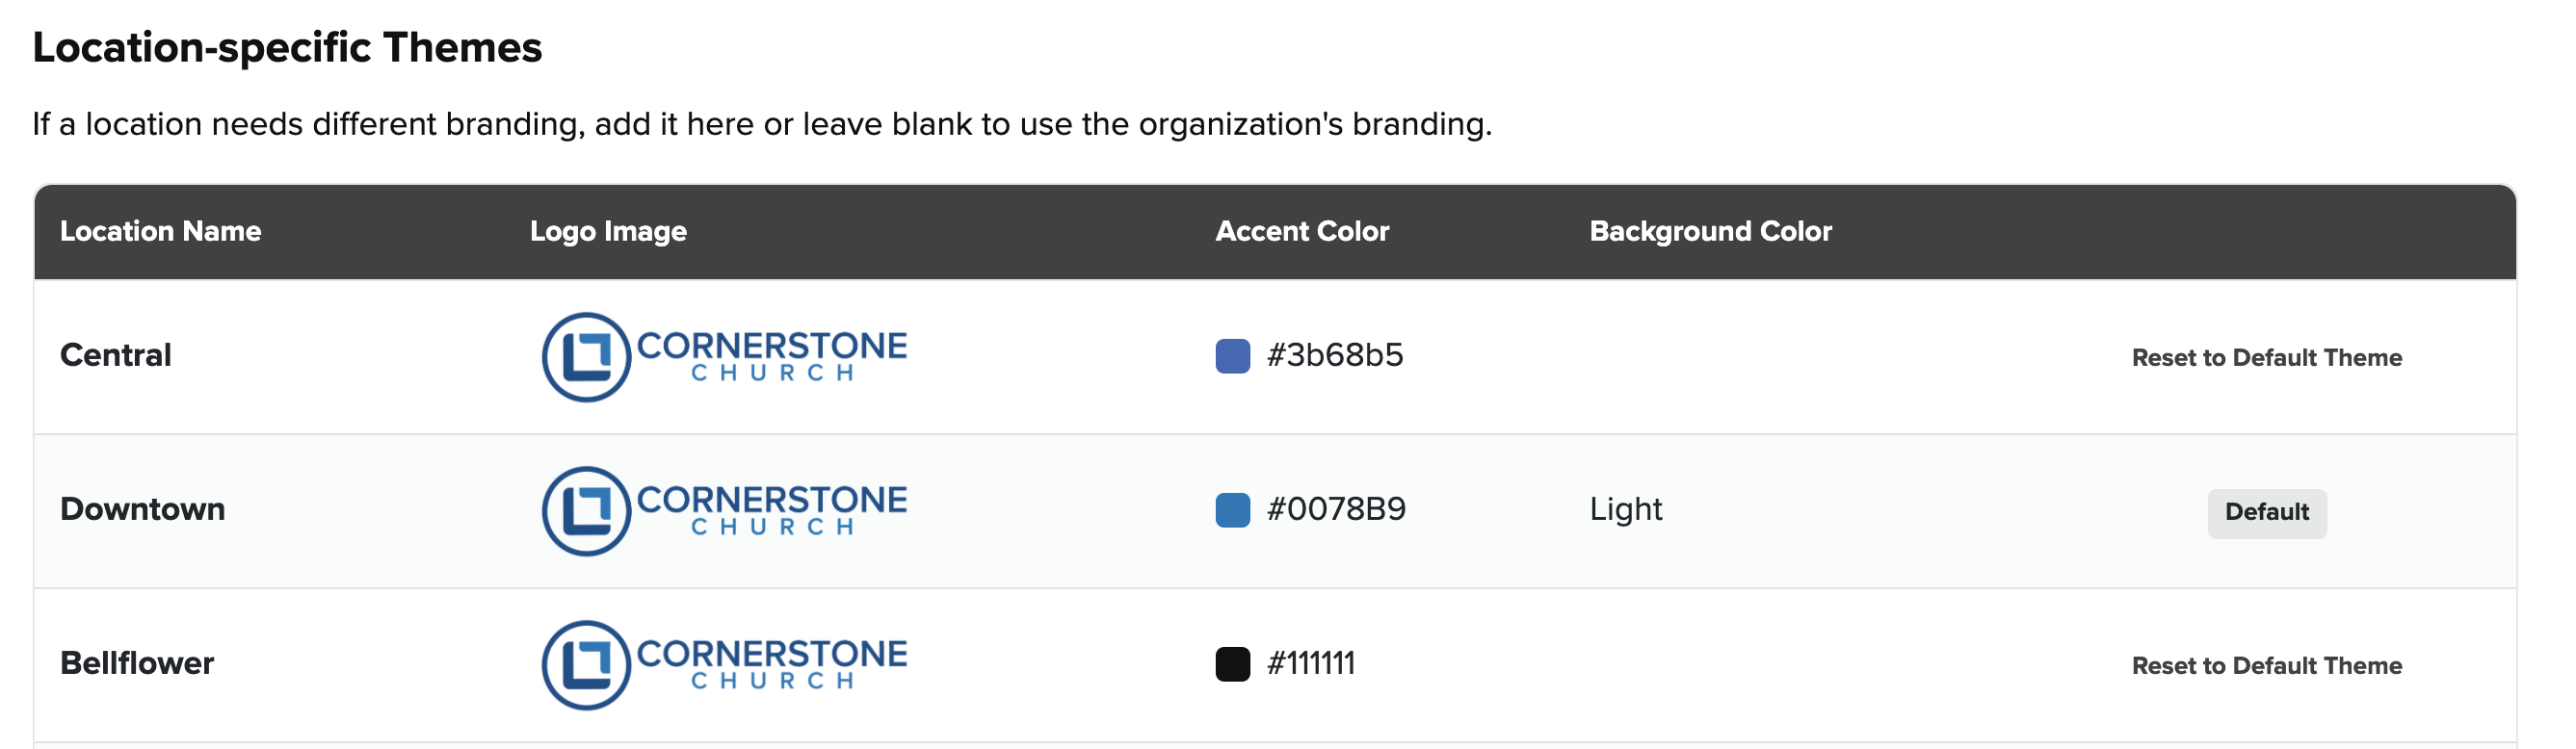
a. Choose a campus from the Location dropdown.
b.Then upload a logo and choose a Primary and Secondary color.
c. Click Save.