To use the export file for Elexio, you need to make sure the correct information is entered in the SecureGive system. You will mainly need to make sure the correct category names are listed in SecureGive. You also need to make sure a Member ID is assign for each donor if you decide to match records that way. The other information that is included in the export file will be automatically pulled from our system, and that includes: first name, last name, amount, date, and transaction message.
Elexio can match records based on User ID or first name/last name. However, they recommend matching based on User ID.
If you’ve connected your donors with a Member ID in SecureGive, our system will populate that information into the User ID column in the Elexio export file. It is not required though to use User IDs when using the Elexio export file; they can also match records based on first and last name.
To connect a Member ID in SecureGive, you can click on the Member ID field from the All Transactions page. Type the ID into the Member ID field and be sure to hit the “Update Member ID” button. This will save and populate the individual’s Member ID for all of their transactions.
Regarding Category Name: You will need to make sure that the Category name in SecureGive is an exact match to the name of the fund in Elexio. For example, if your general fund is listed as “Tithes & Offerings” in Elexio, then the category must be listed exactly that way in SecureGive.
After IDs and Category Names are lined up in SecureGive, run your transaction report, and then click the “Export to Elexio” button to save the export file needed to import into Elexio. From there, you will need to refer to Elexio’s instructions for importing the transactions.
Below are some Import Instructions as shown on Elexio's website.
Import Process
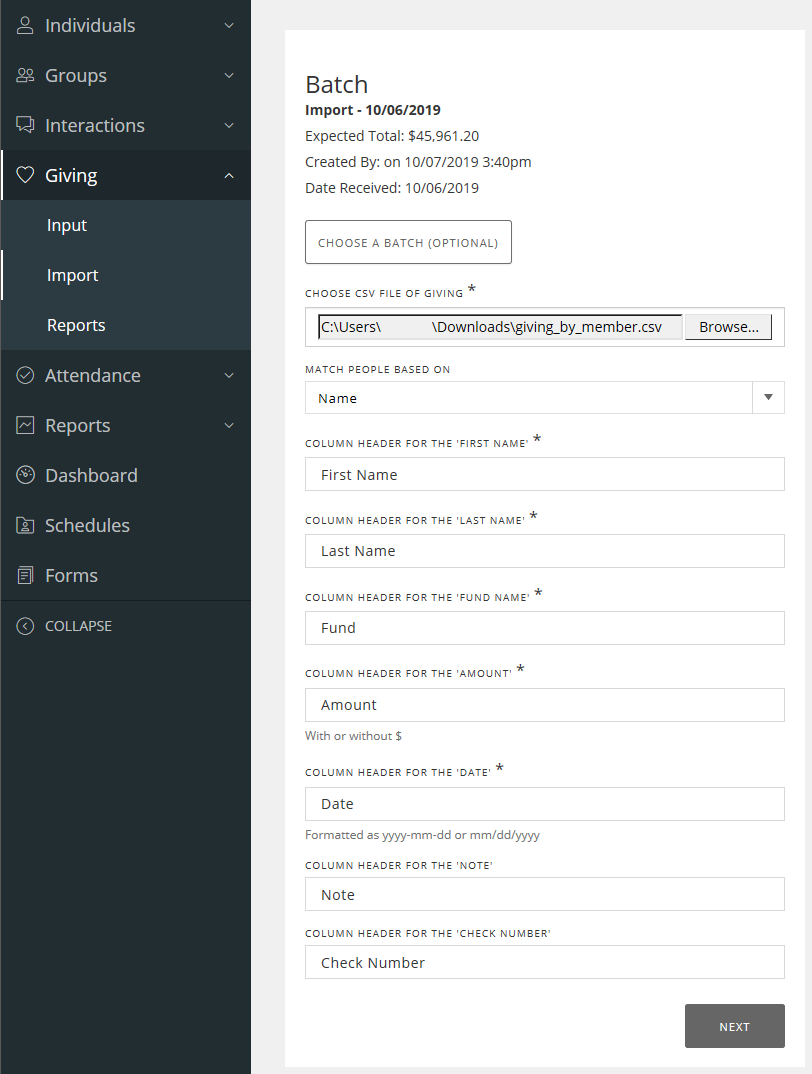
- To get started importing giving, in the left sidebar menu, click Giving → Import.
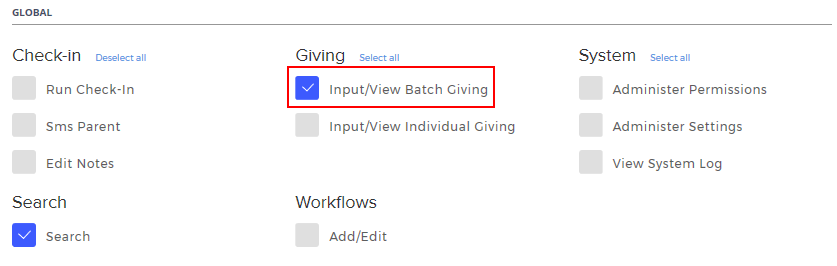
(Note: It is required to have 'Input/View Batch Giving' permission to use this tool).
- Choose your comma-separated value (CSV) file (SecureGiveToExlexio.csv) file, and enter the column headers for each of the required columns.
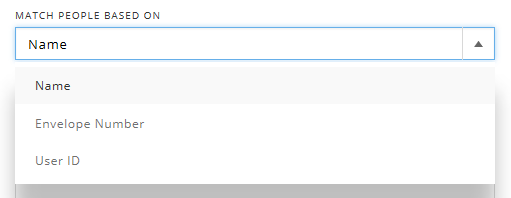
- Choose the method by which to match people from the CSV file to people in the database.
- Note: If a person is not in the ChMS, then they can be added during the import process.
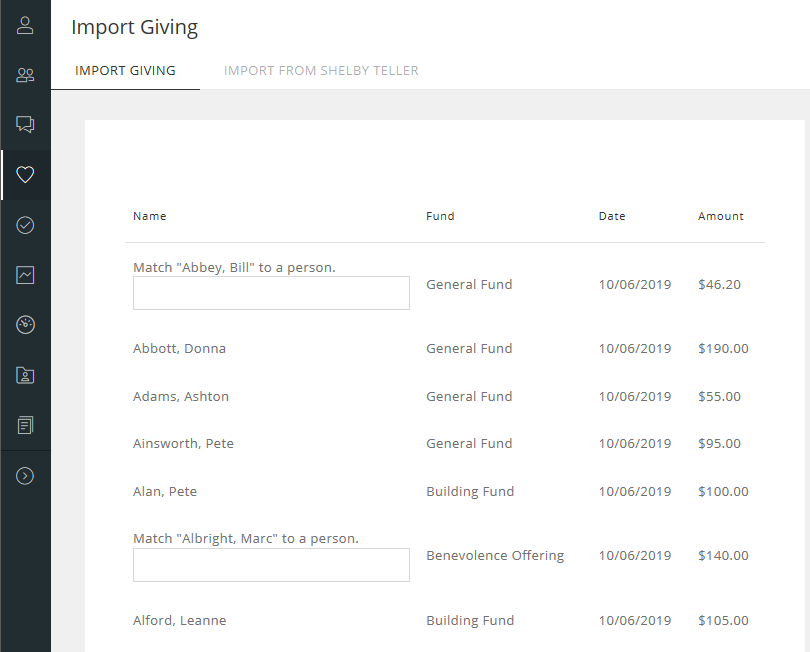
- Review the proposed import:
- Contacts are best matched based on the criteria provided. However, if the system is unsure of an exact match, the importer will need to use the search box to choose an existing person, choose the Anonymous person, or add a new person. Once one contact is updated, if there are other entries with that same criteria, the option will be given to automatically update all of them.
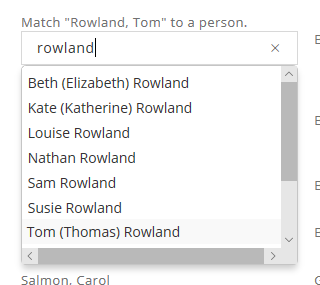
- Members with a 'Goes By' name will need to be matched to the proper donor with the 'Name' match option.
- The best attempt is made to match the Giving Category in the import with the ones already in the system. However, if there isn't a match, a Fund will need to manually chosen and the option will be given to update all other records matching the same details.
- If the date isn't in a format we can understand, the software will ask for one to be entered.
- Once satisfied with the proposed import, click Save.
The import will correctly group entries for people who have chosen to have giving grouped under their primary family member.
If you need any additional help with generating the Elexio export file, you can contact us by phone at 855-895-8951 or by email at support@securegive.com