- Login to your SecureGive dashboard.
- Go to Categories > Donations or Purchases and make sure that the name of all Donation or Purchase Categories match a Fund Name in Servant Keeper.
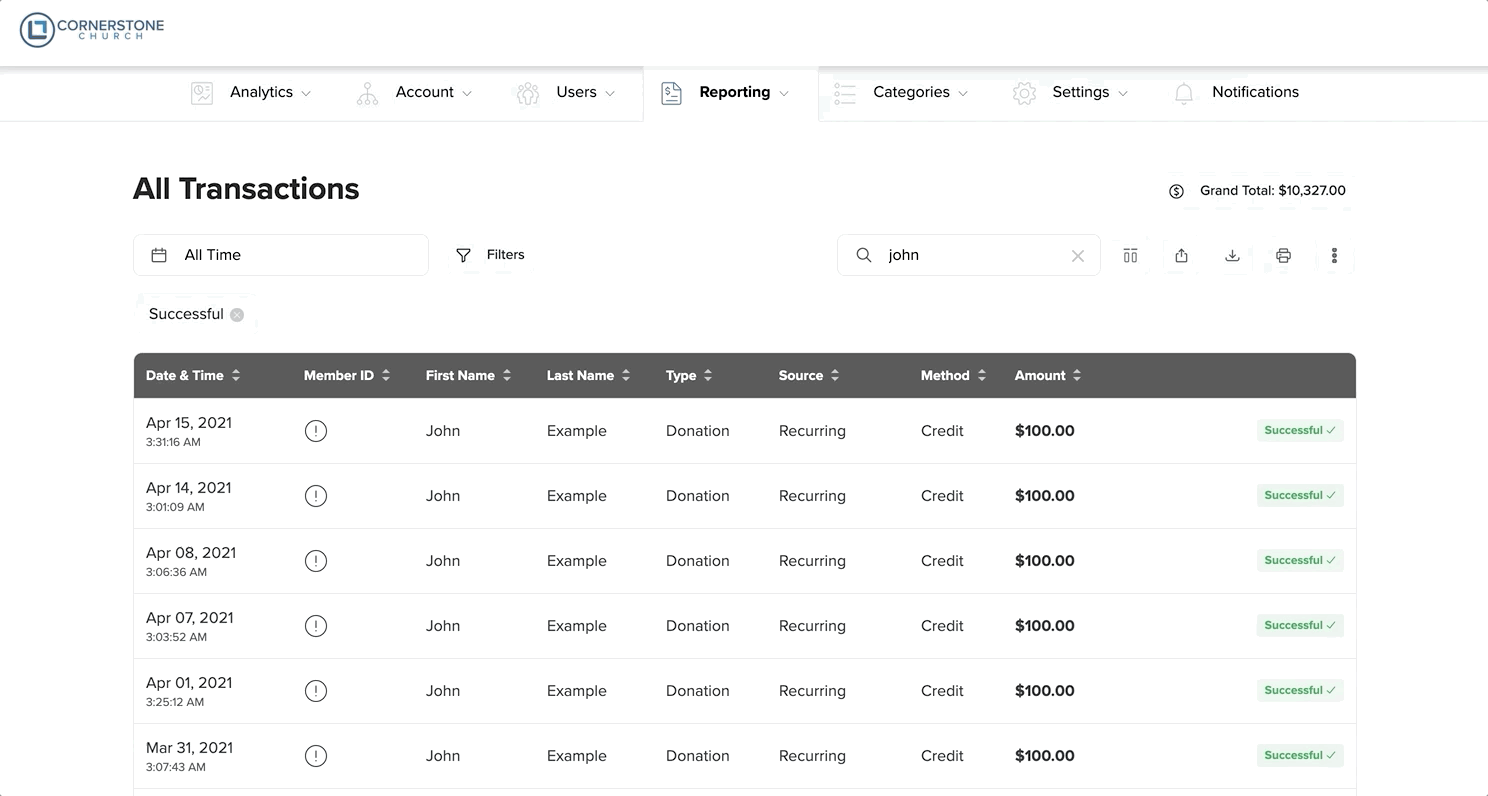
- Under Reporting, go to All Transactions.
- On the right side of the page, choose your dates for the export.
- A Member ID is needed for all transactions. If this field is blank for any transactions, go to step 6. If all Member IDs are present, proceed to step 13.
- An Envelope Number must be assigned in Servant Keeper to use in the Member ID field in SecureGive. To assign an Envelope Number, log in to the individual’s profile in Servant Keeper.
- Click on the “Assign #” field toward the bottom left of the screen. Another dialogue box will appear. Choose “Suggest New Envelope #”. A number will appear in the box. Click Save. The same number should now appear in the Env# field in the member’s profile.
- Click Save and Close at the top of the screen.
- Go back to the All Transactions page in SecureGive.
- You will need to input a Servant Keeper Envelope number into the Member ID field for each member profile in SecureGive. You will only have to do this one time for each member, and it will stay connected to them for all future transactions. Do this by clicking the exclamation point in the Member ID column from the “All Transactions” page, and then enter their Member ID (Envelope Number) and choose the Update Member ID button. (Please see the GIF below.)
You can also add a Member ID from the donor's profile by clicking the Add Member ID link, entering their Member ID, and then clicking the Update Member ID button. You can also click the Edit pencil at the top right, scroll down to the Servant Keeper Member ID blank, and then input the Member ID there. Be sure to select Save.
- Once you have assigned a Member ID, you will be re-directed back to the All Transactions page where you should now see the Member ID listed.
- For anonymous donations, you will need to go under Settings > Organization Settings in your SecureGive dashboard and enter the Anonymous ID there and save. This ID is originated in Servant Keeper and can be found there. This will only need to be done once.
- Click the Export to Servant Keeper button on the All Transactions page and Save this file to a designated folder on your computer. We suggest you name the file to include the dates the export covers.
- Login to the Contribution Manager in Servant Keeper.
- Click Import button at the top of the screen and choose Import contributions from file.
- Click on Select Import File and go to the export file you saved.
- Make sure the “Field Delimiter” is set to “comma” and the “text qualifier” is set to “None”. Start importing at row “1” and Stop importing at row (number of the last row in the file). Date format should be “yyyymmdd”.
- On the “Match columns to field” portion of the screen, the “Import Data By” selection should be “Envelope Number”.
- The “Required Key Field” should show “Envelope Number”. Click the dropdown box and choose “A”column.
- In the Required Data Fields” the entries should be as follows.
Account name – B Column
Batch Date – C Column
Amount – D Column
These fields should correspond to the data in these columns on the file displayed.
-
Click Next at the bottom of the screen. If there are no errors found, the batch should be displayed. If there are errors found, review the error messages and correct the data.
- Click Next. This will display the “Import Contributions” screen showing the number and amount of the contributions that will be imported.
- Check box at the bottom of the screen that says “Yes, I want to import contributions”. Then click the Import button.
- The Import Contribution Screen will display the number of contributions that were successfully imported.
- Click the “Batches” button at the top of the screen. All unposted batches will be displayed. Close “Batches” window.
- Click on “Post Batch” button.