To add a new Campaign for your organization, go to Categories > Campaigns in your dashboard. Once there, Click the + button to add your campaign.
Campaign Name
- Give your campaign a name. When you do this, it will pre-populate a Custom Slug below. You can use this to connect your campaign page anywhere on your website or in communication of the campaign to direct givers to pledge and give.
Choose the Campaign Designation
- You will choose the designation you would like the campaign to be tied to using the Location & Category dropdown.
Set the Dates
- Use the start and end date pickers to define the date range of your campaign. This will limit the pledges that your givers make to within these dates.
Description
- The description is a short detail of your campaign that appears at the top of your campaign page.
Amount Pledged Outside of SecureGive
- If you track and collect pledges outside of SecureGive, you can use this blank to update your campaign page with the total amount pledged outside of the SecureGive software.
Amount Received Outside SecureGive
- Use this blank to enter the amount given outside of SecureGive through cash, checks, etc.
Campaign Description
- Use the Campaign description to communicate all the details of what your campaign is about to those that are wanting to know more, pledge, and give. This will appear towards the bottom of the campaign page below any campaign images that you upload.
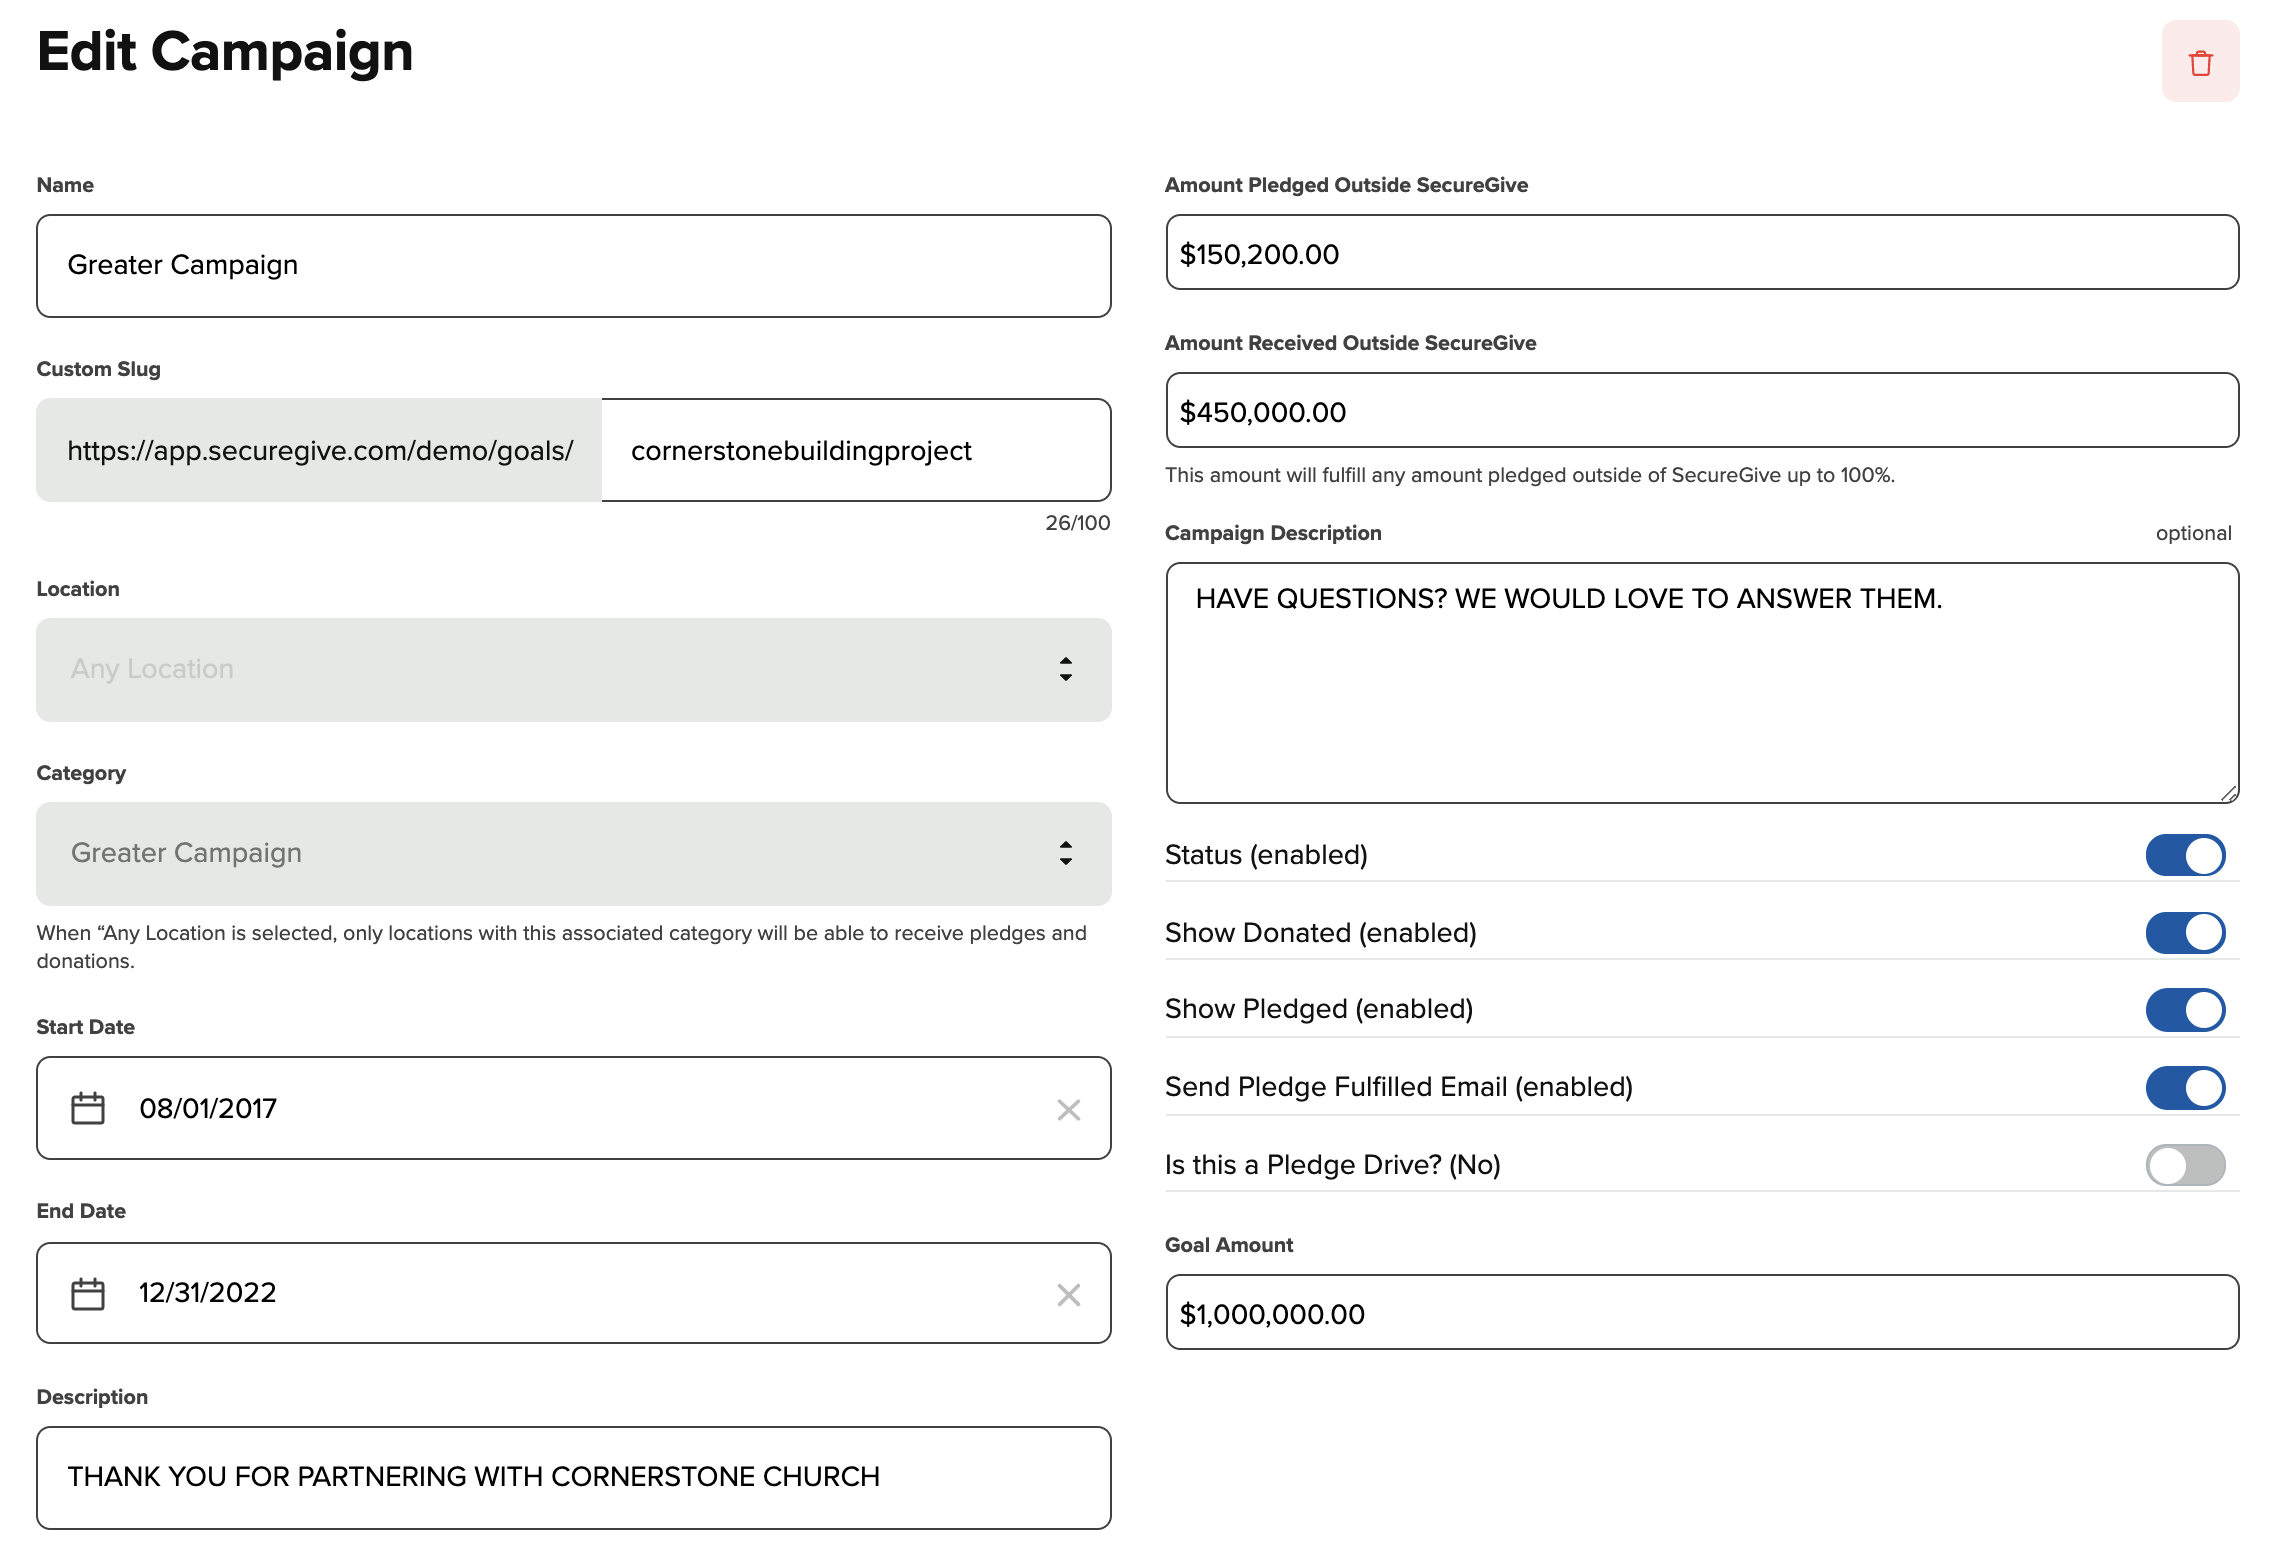
Status
- Use the status slider to make your campaign active or inactive. When it is enabled, your campaign is active and when it is disabled your campaign is inactive.
Show Donated and Show Pledged
- Use these sliders to choose whether or not your givers see the amounts that are donated and pledged. When they are enabled, the giver can see the amount. When they are disabled, the amount will be hidden.
Send Pledge Fulfilled Email
- Use this slider to choose whether or not your giver receives an email from SecureGive when their pledge is complete. There is default text for this email when it is enabled.
- If you would like to customize this email, you can do so by going to Settings > Messaging and adding your text to the Pledge Fulfilled Email field. Be sure to enable the custom text slider and select Save at the bottom of the page for it to take effect.
Is this a Pledge Drive?
- If you want to generate as many pledges as you can to a campaign and are not working towards a specific number as a goal, you can enable this slider to bypass entering a goal amount and keeping it open ended.
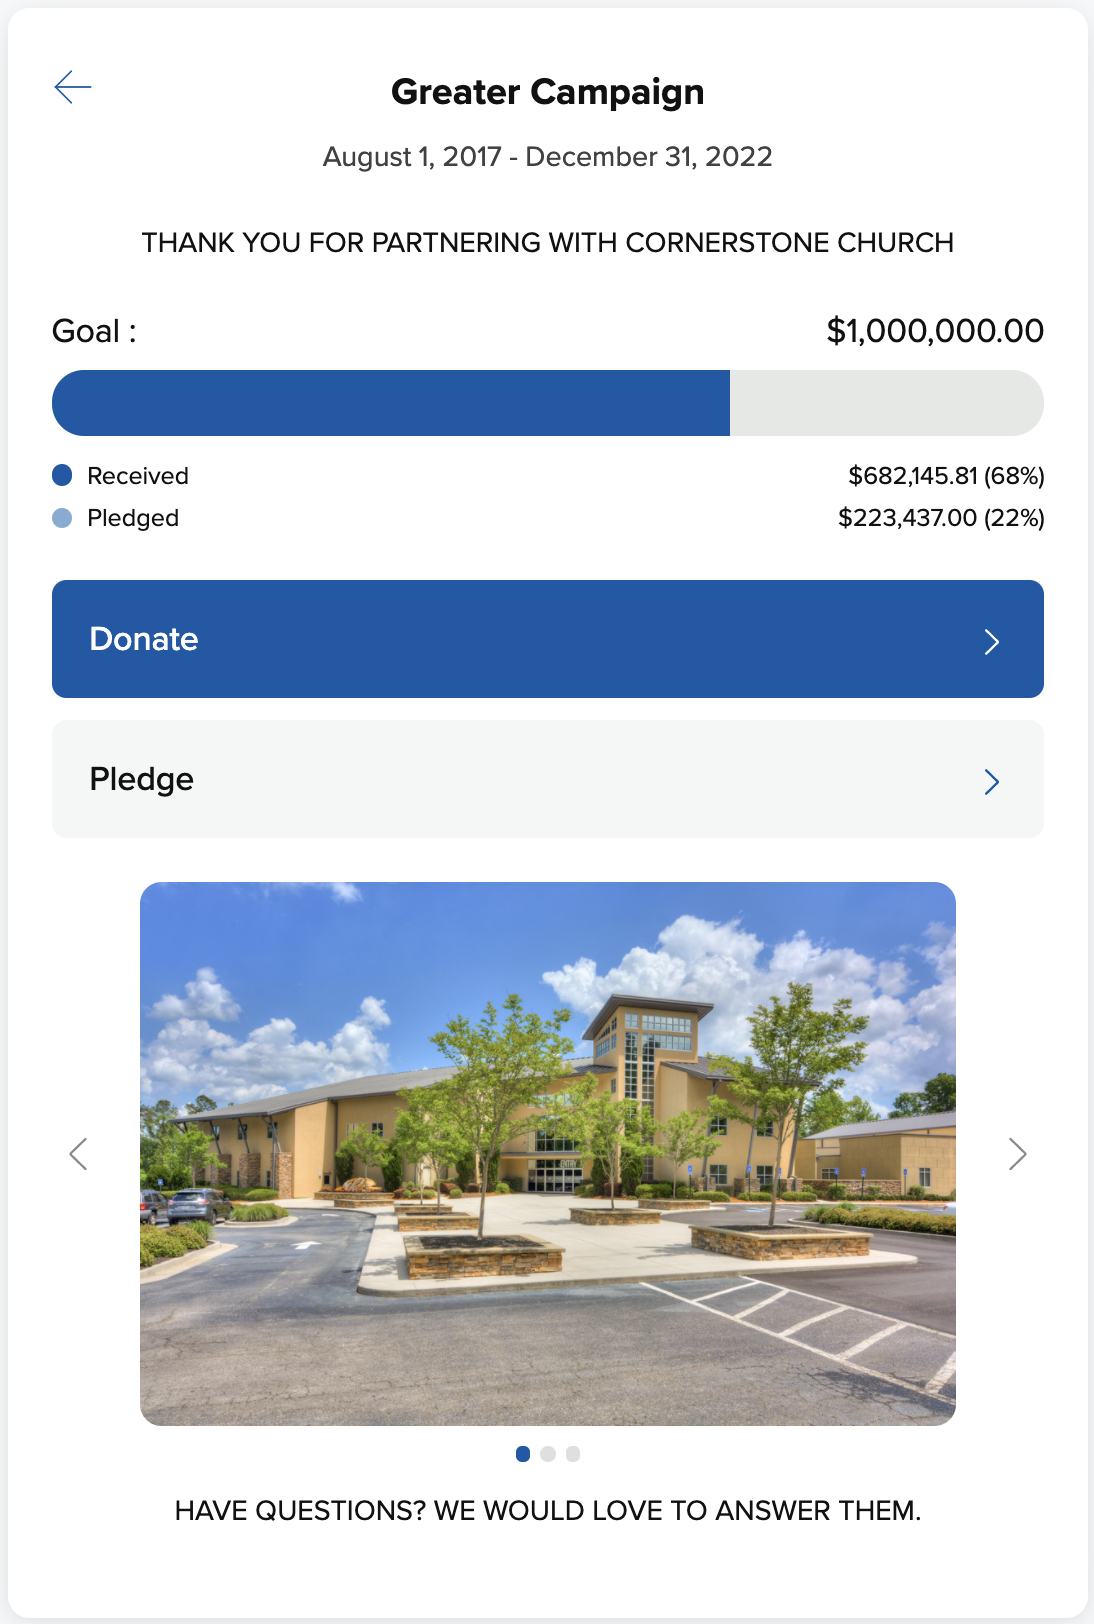
Goal Amount
- If you are working towards a specific number for your campaign goal, you can enter this number here and it will factor into your progress bar and dashboard with analytics that include the percentage to complete your goal and what has been pledged/given towards it.
Once you have all your information in, press Save. This will take you to your Campaign Dashboard. If you click the Edit pencil in the top right hand corner, you will see there are a couple of additional features in your campaign.
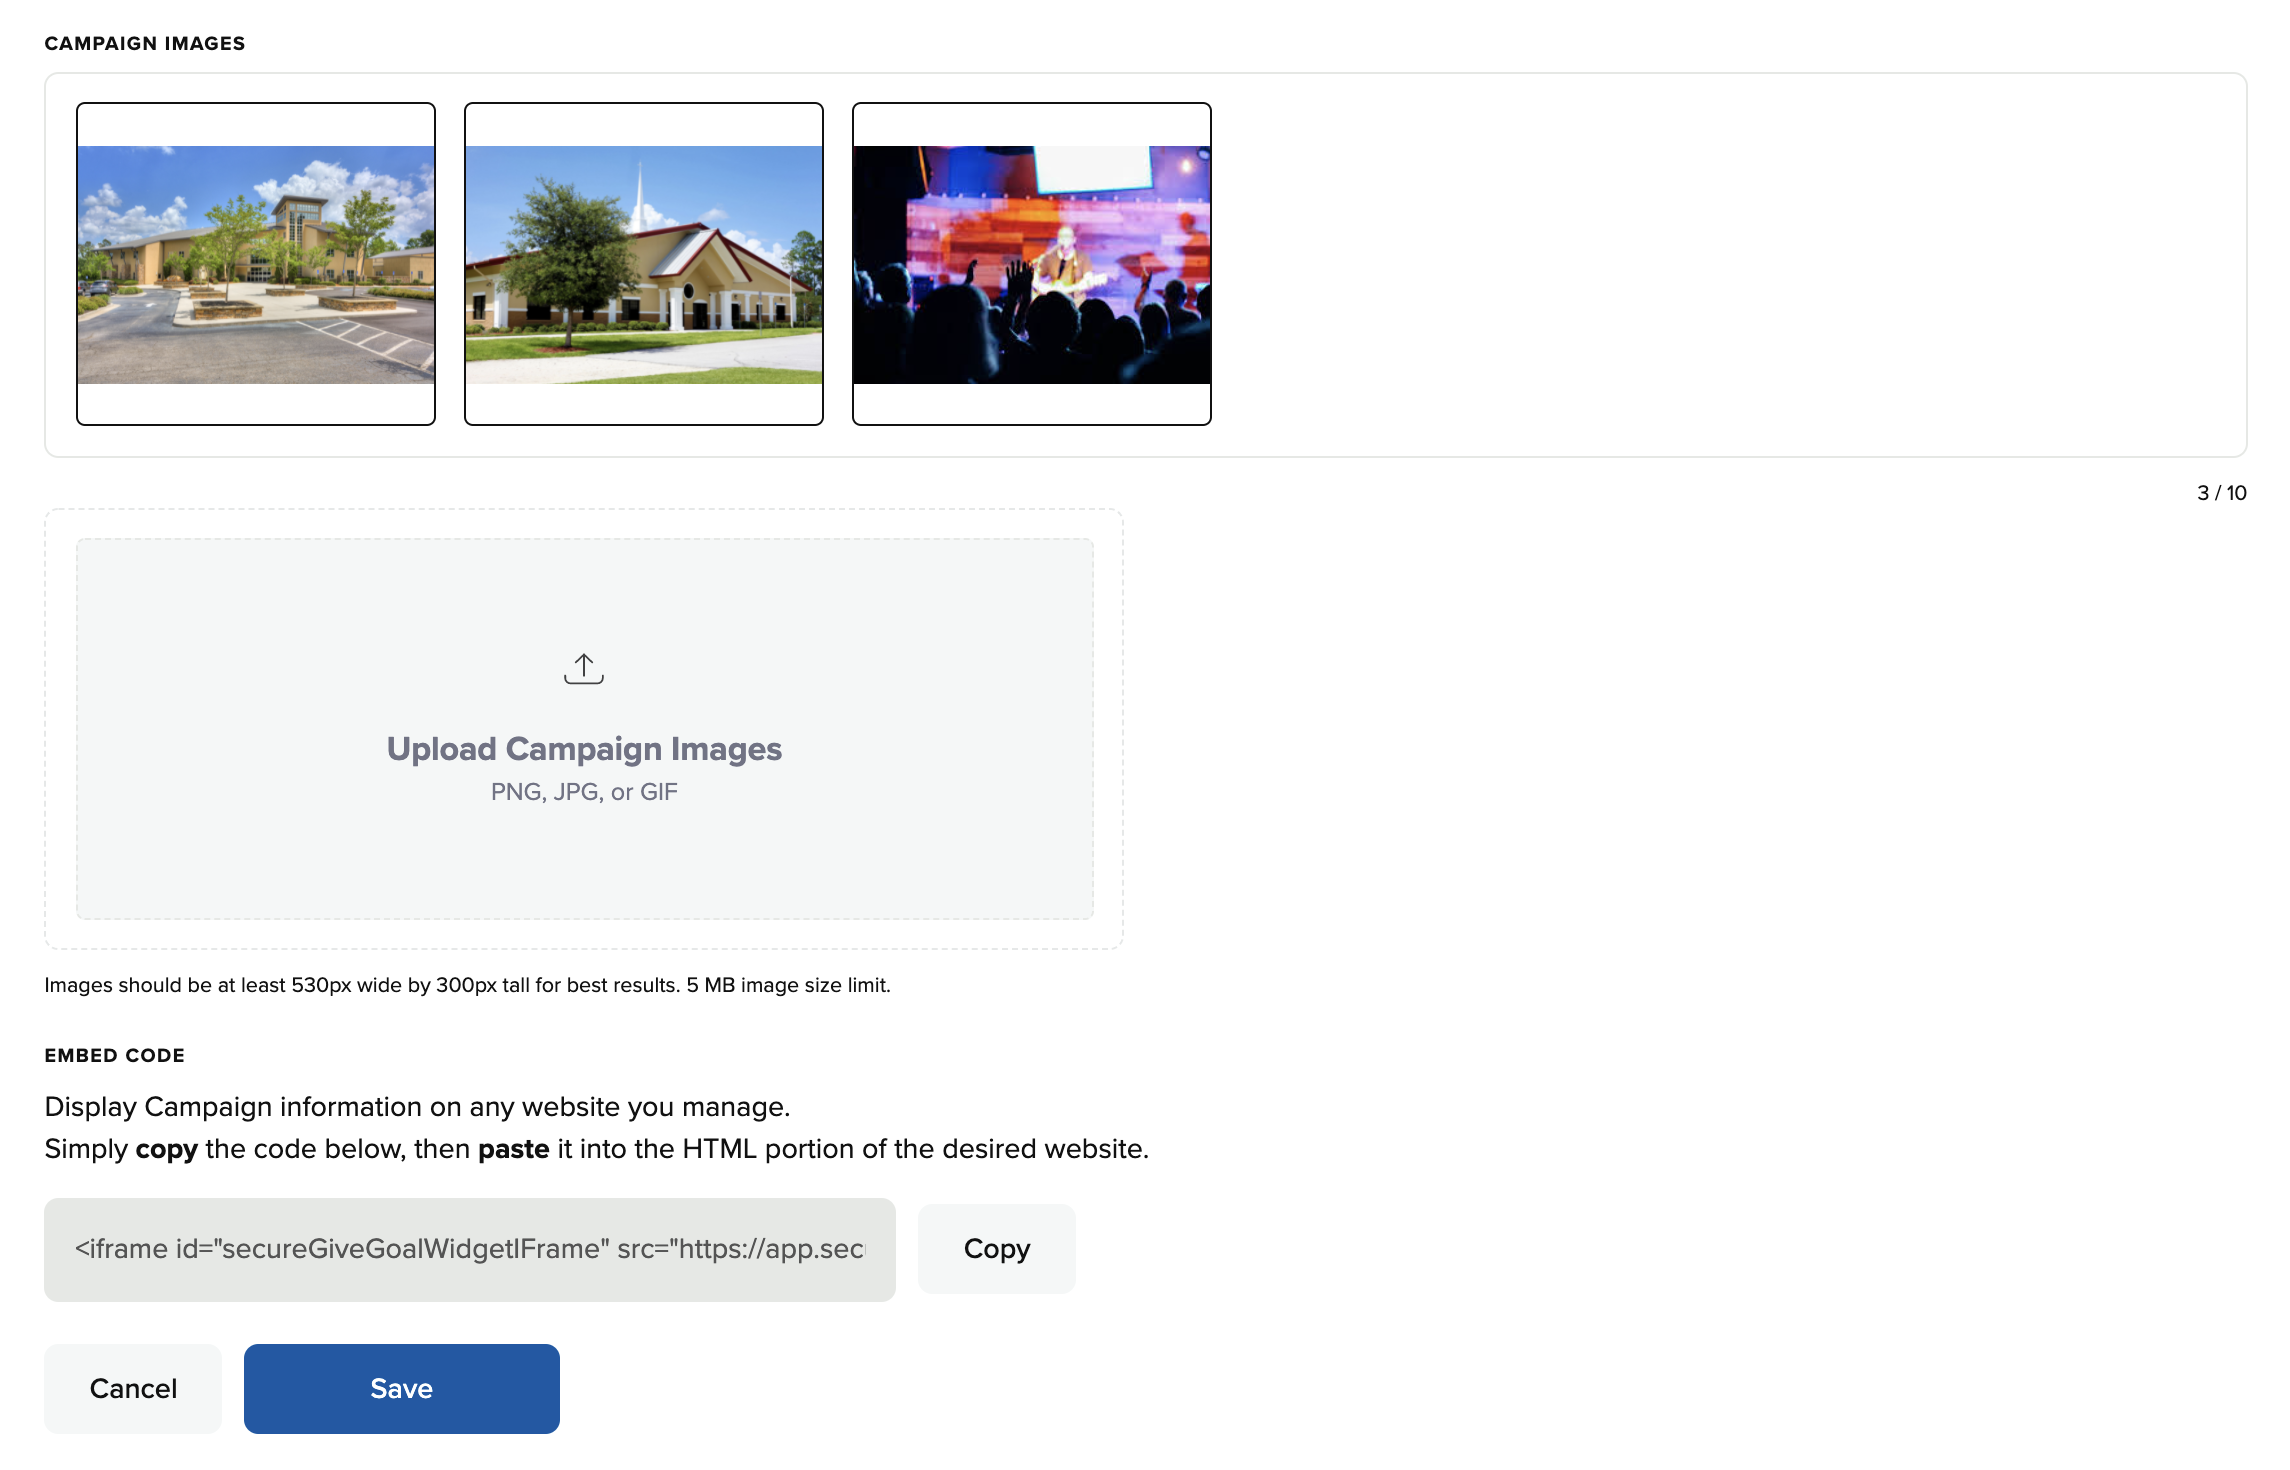
Campaign Images
- You can upload images to your campaign to show plans/graphics/additional details of your goal or pledge drive.
Embed Code
- You can use this code to embed your Campaign page from SecureGive on your website! Copy the code and paste it in your website HTML.